My wife and oldest daughter Carmen(9 years) were enthusiastic about my switch to "the
cute" scale. However my younger daughter Monica (7 years) was extremely upset by
the change. I had previously set up a small HO scale layout for them to play
with. It was just an oval with one spur and Monica got the biggest kick out of
stuffing her beanie babies into the coal cars and giving them rides. I wanted the
layout to be something the whole family could enjoy so I came up with this
plan:
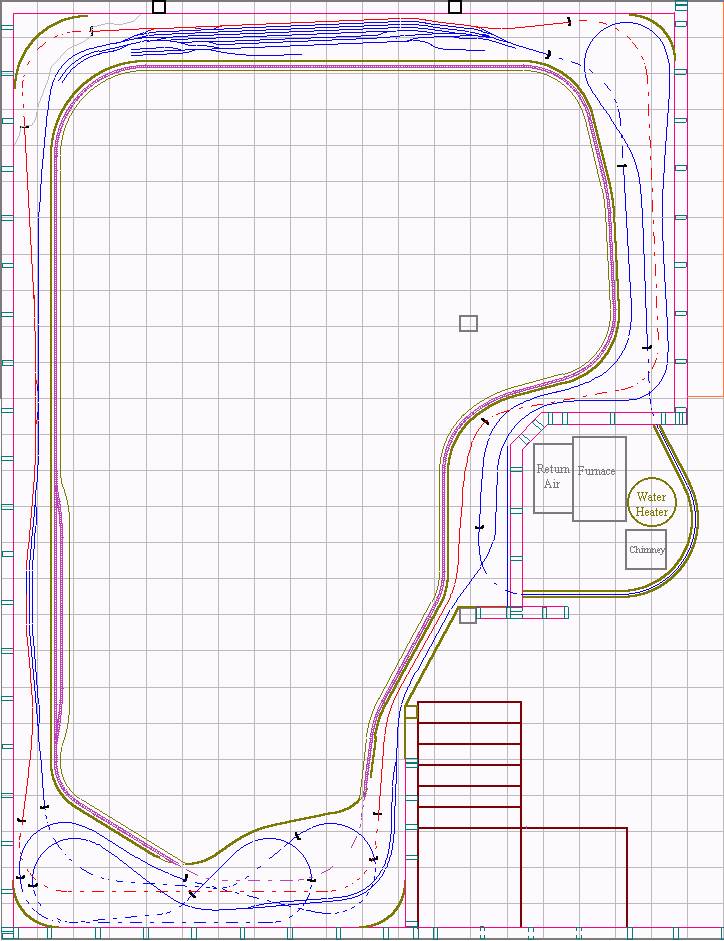
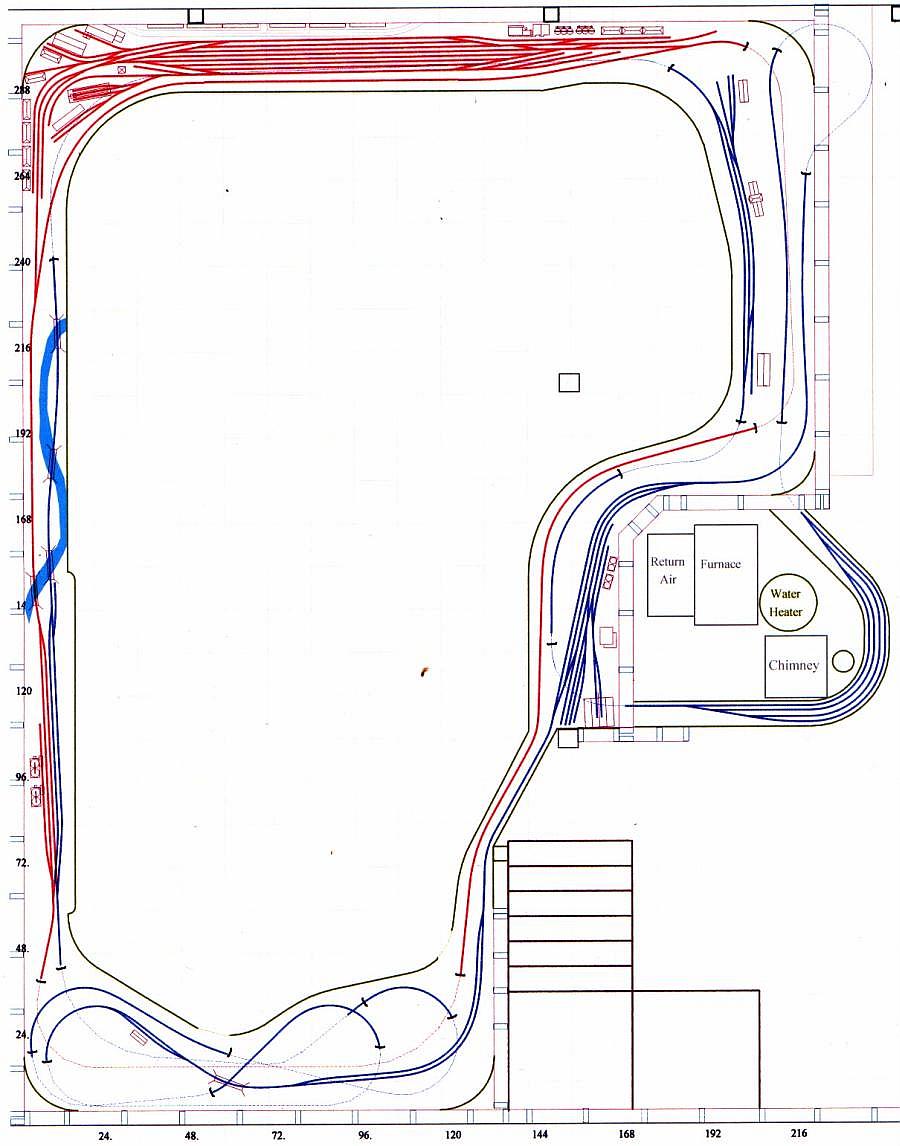
Up until now I've never been really happy with the design of the N Scale plan. It's been sort of in the
ballpark of what I wanted overall, but there were things about it that bothered me. I wanted to have a
branch line(or model a second road) but it seemed the route I had drawn(the one in red) didn't really do anything
other than connect with the main line and go around the room. I thought the main yard was lame and overall layout lacked
any other towns/interchanges/points of interest. I'd been looking at other plans for ideas in older issues of Model RR, GMR and
Model RR Planning Magazine but nothing seemed to click. But then I got the May 2002 issue of Model RR Magazine a couple of days ago and read the
article on the Niagara & Pearl Creek RR. Art Fahie's Plan turned the lights on for me and you can see the results below. This page may
take a while to load if you have a modem.
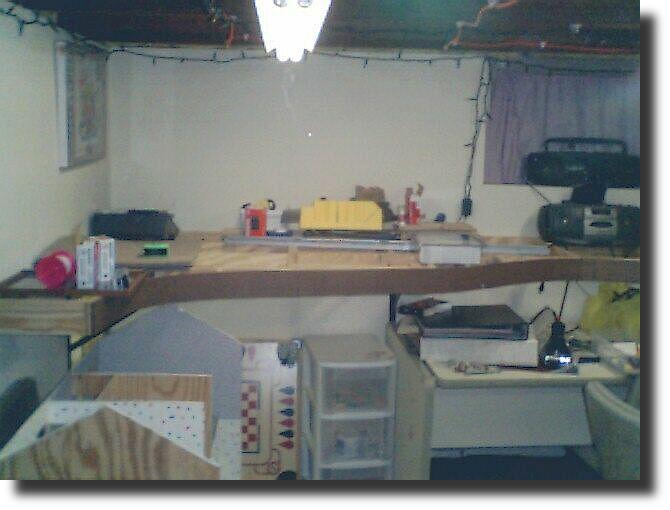
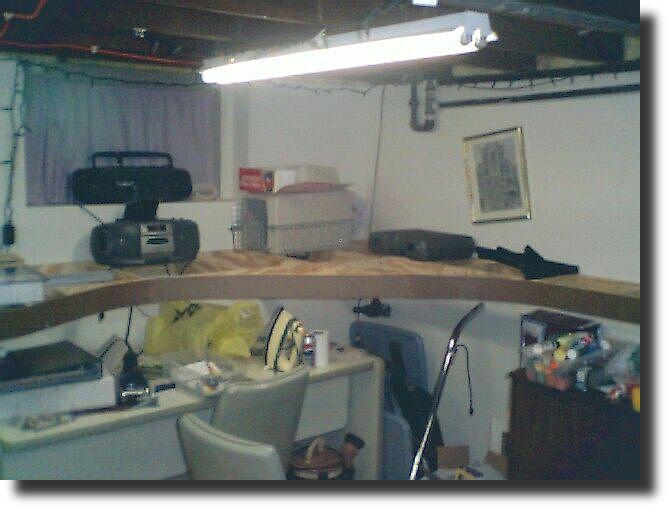
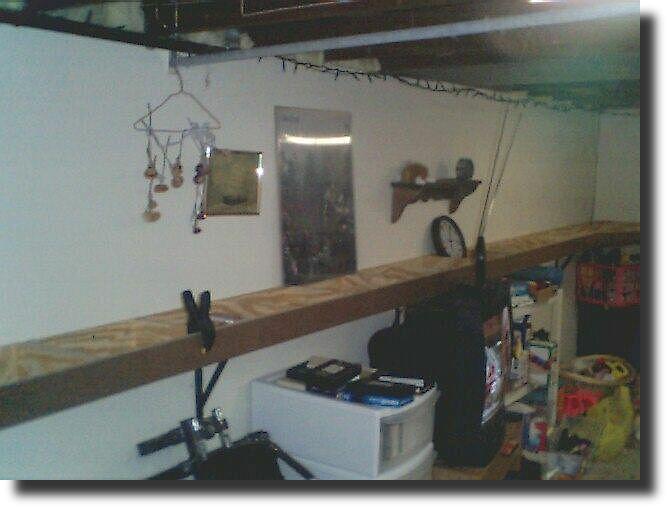
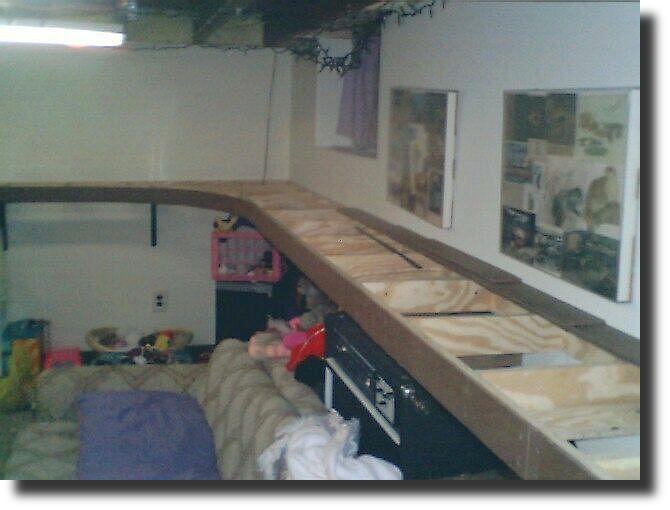
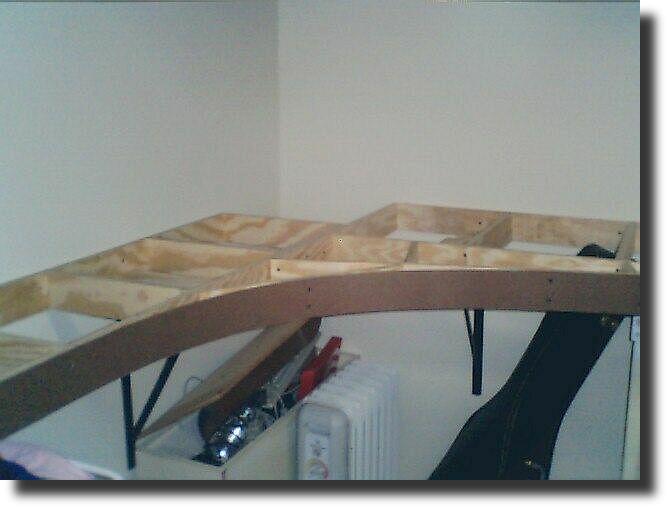
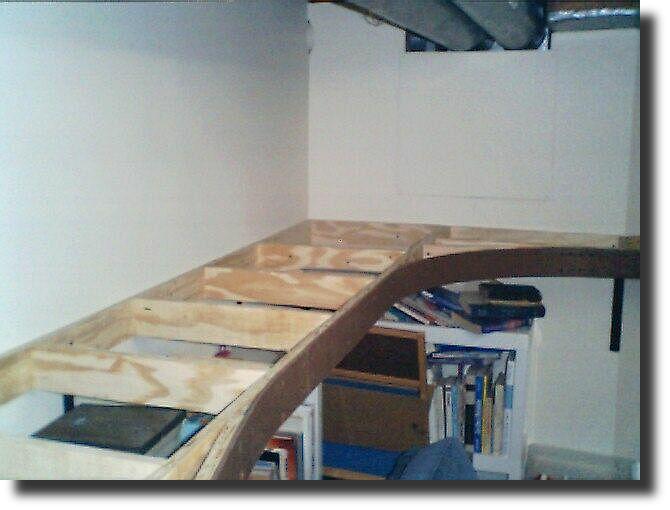
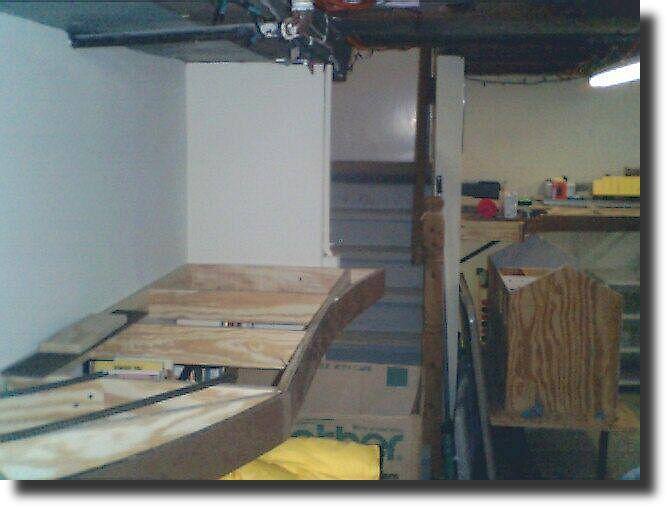
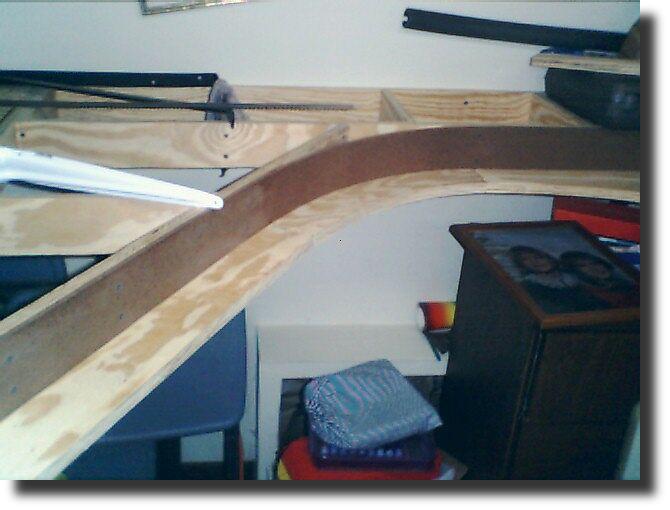
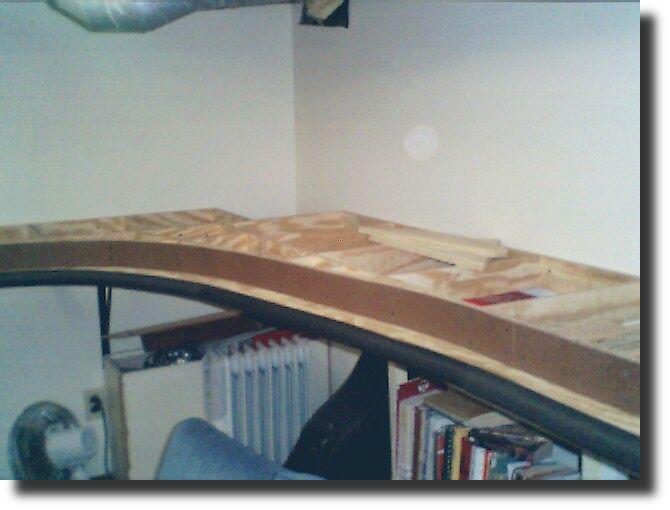
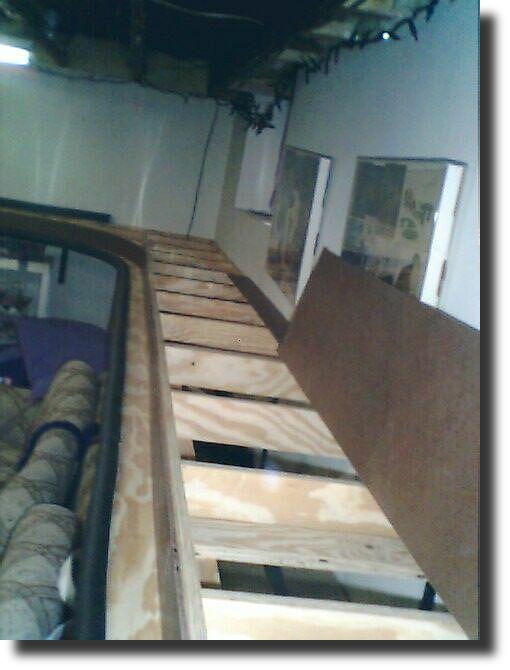
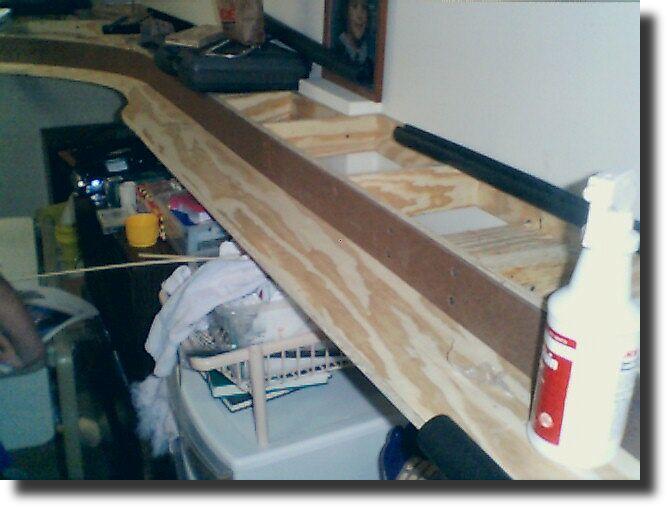
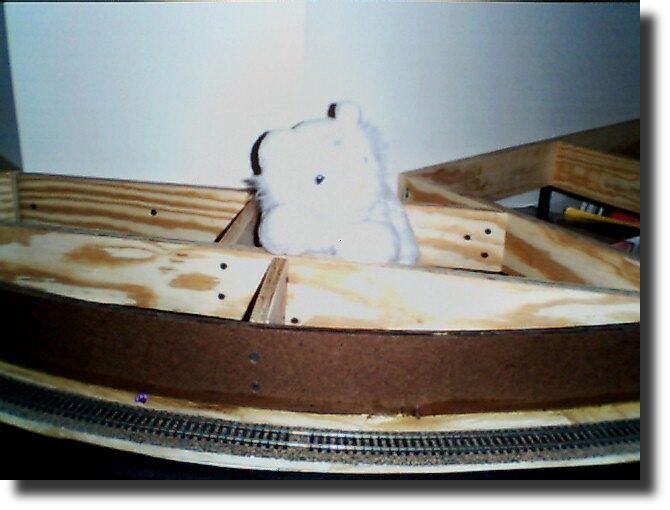
I just added a ledge for the HO scale trains
on the inside edge of the layout. Here are some shots of the benchwork without
the "Beanie" ledge.
Click on image to enlarge...
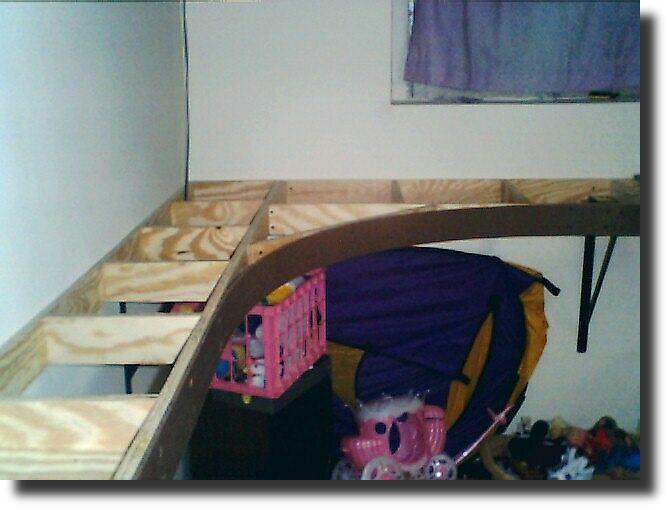
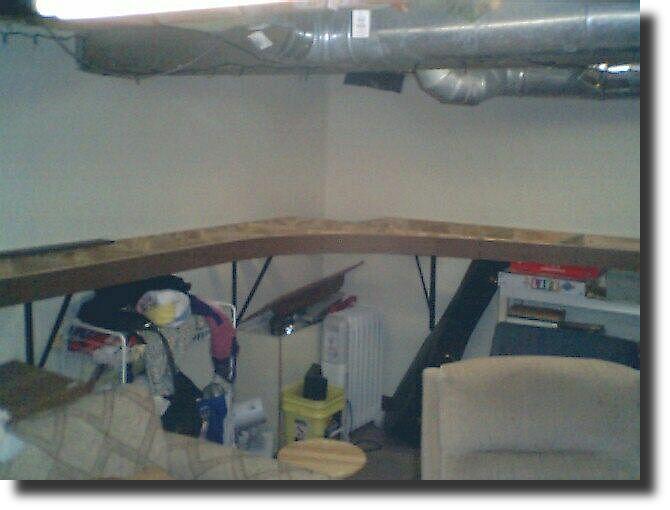
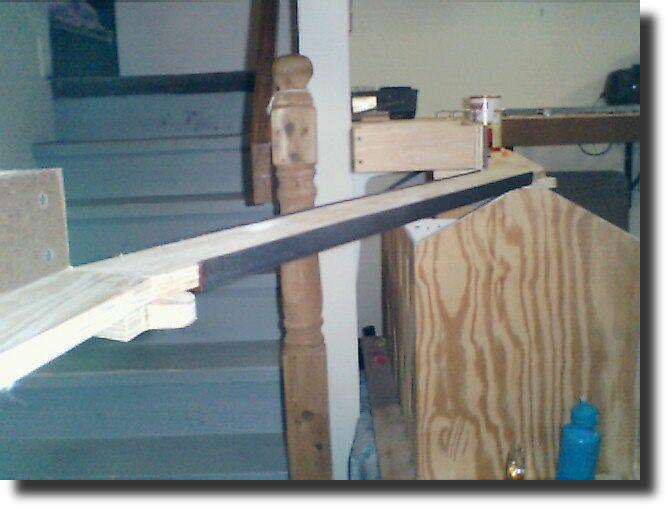
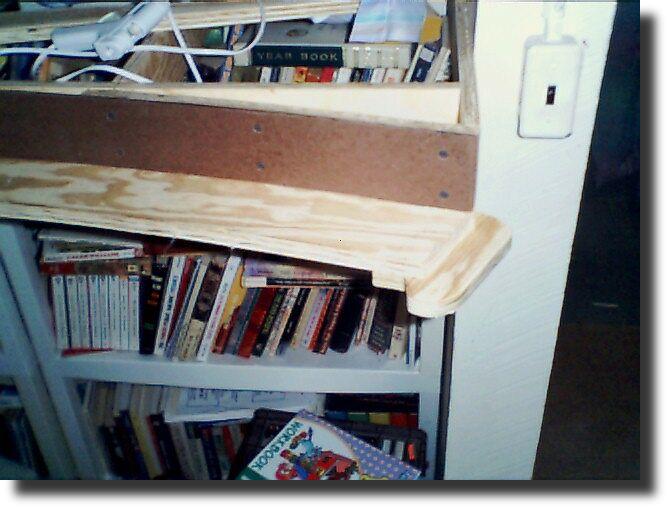
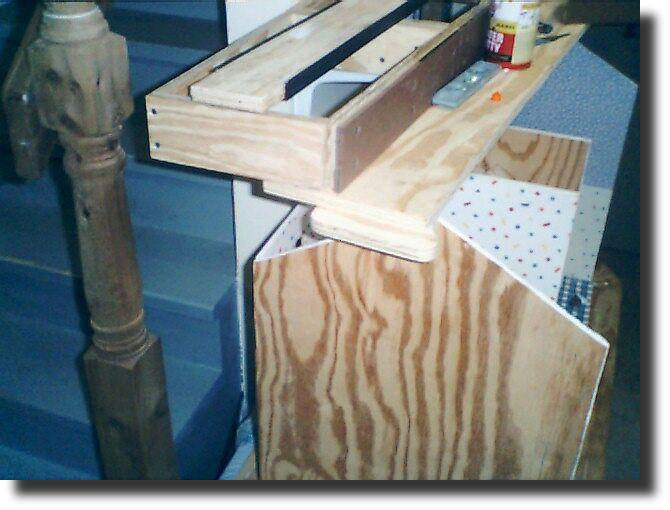
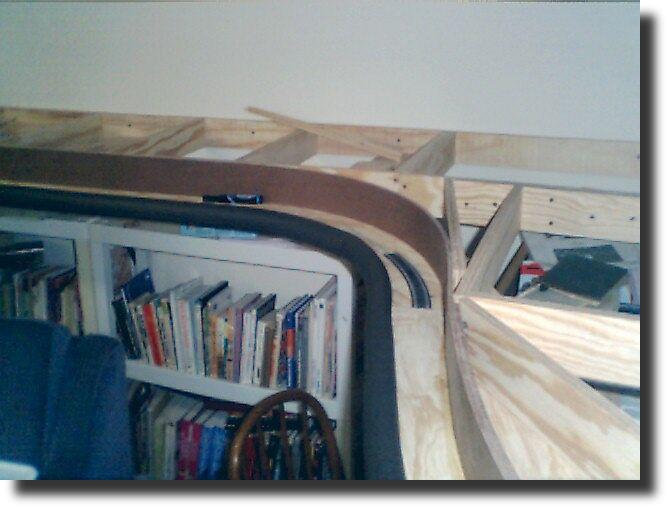
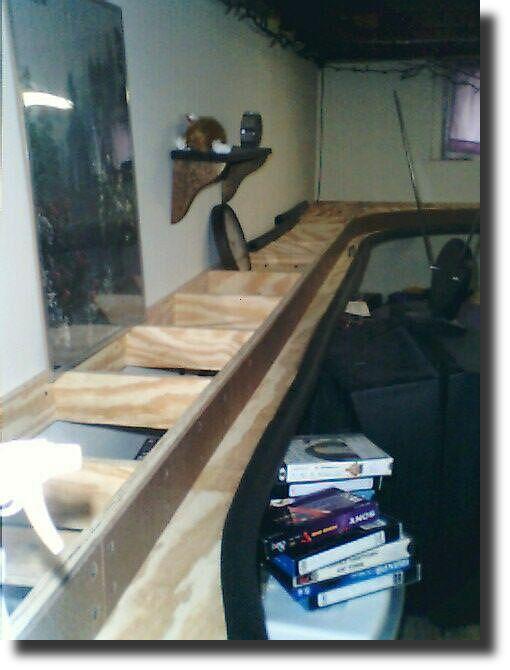
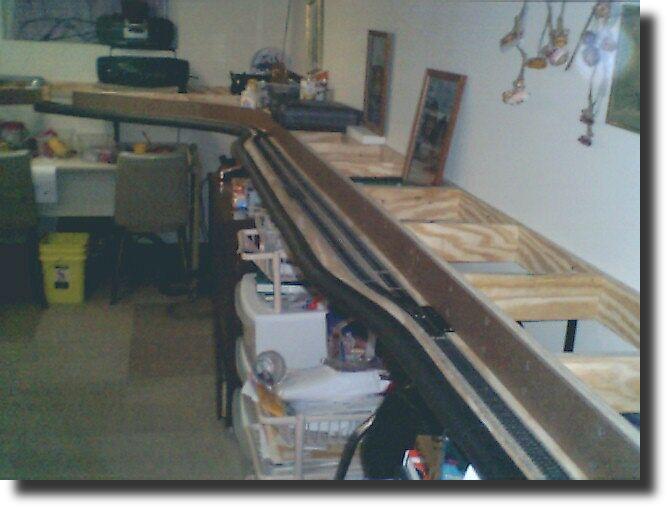
Here are some shots of the benchwork with the "Beanie" ledge in place.
Click on image to enlarge...
The "padding" along the edge of the layout is half inch pipe insulation
with some batting stuffed into it.
I attached the insulation to the ledge using a hot glue gun.
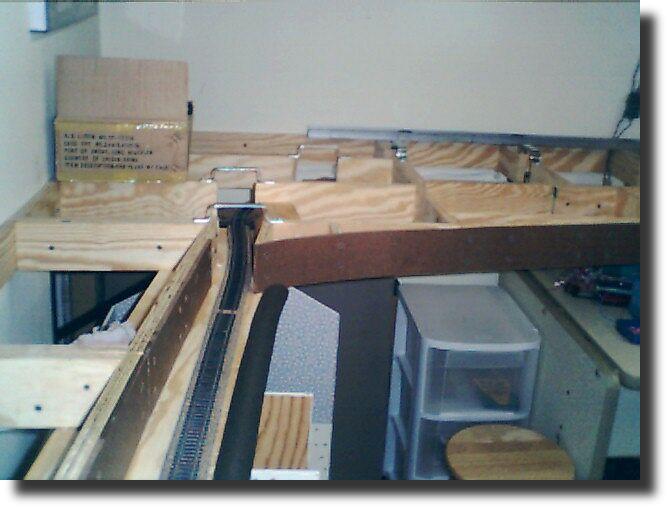
I've been able to go full bore on this project since I had a whole week
off from work before Christmas. Here are some pics with the roadbed and
track in place.
Click on image to enlarge...
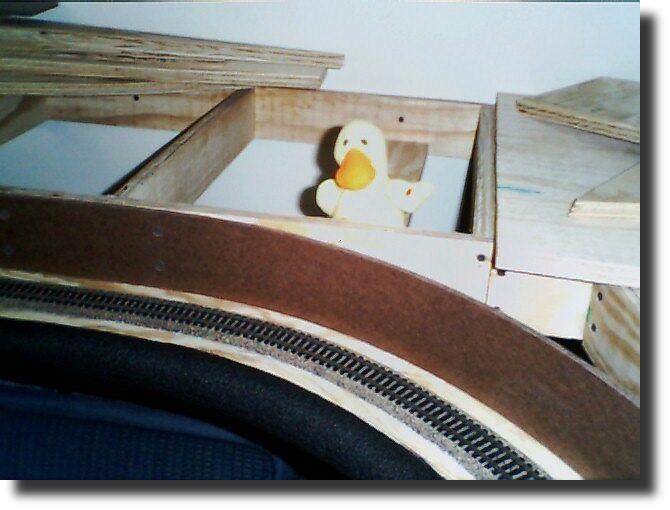
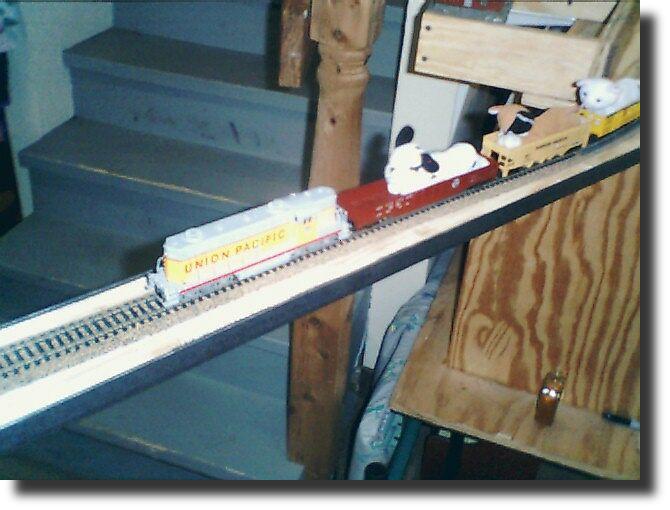
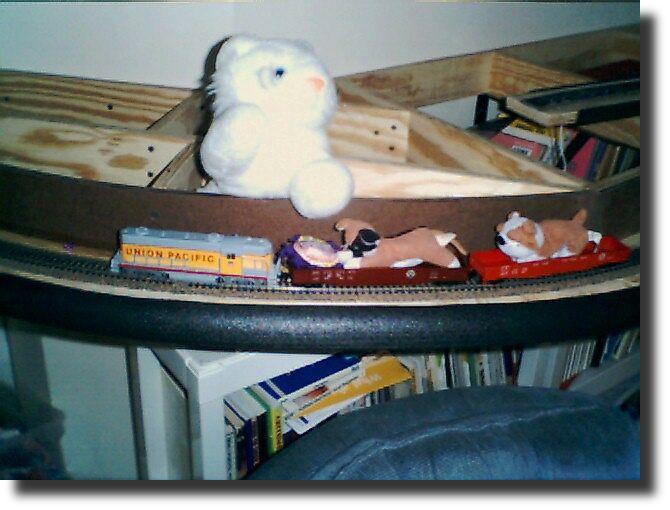
Now that all the trackwork was complete it was time for the inaugural run
of the Beanie Express! There were tour guides placed along the route!
Now let the Beanie Babies Roll!
So what's next on the agenda? Lighting and a backdrop. Click here for details!