DHTML Menu / JavaScript Menu by OpenCube

Model,Railroad,Model railroad,trains,cadrail,ho scale,n scale,layout design,cadrail track plans,benchwork,track plans,layout plans,track

Model Railroad Construction Progress: January 2010

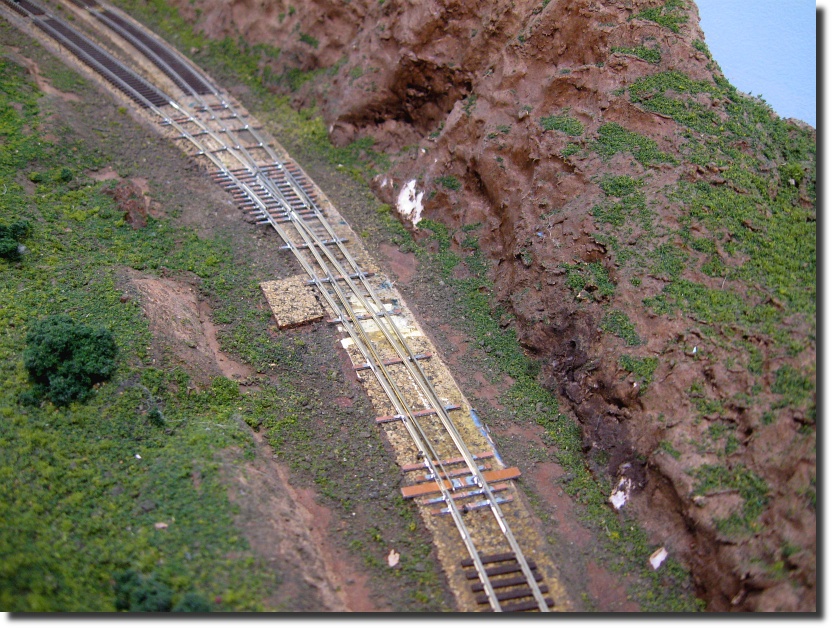
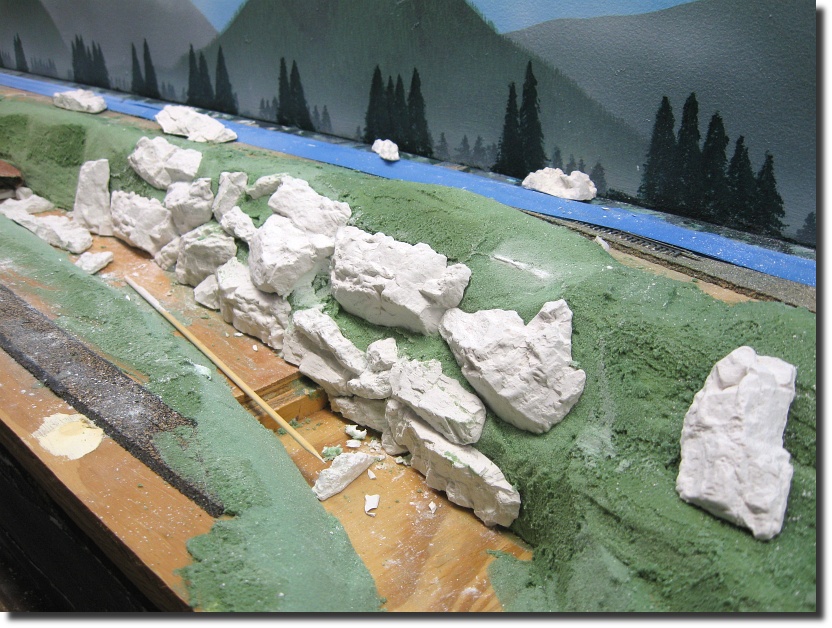
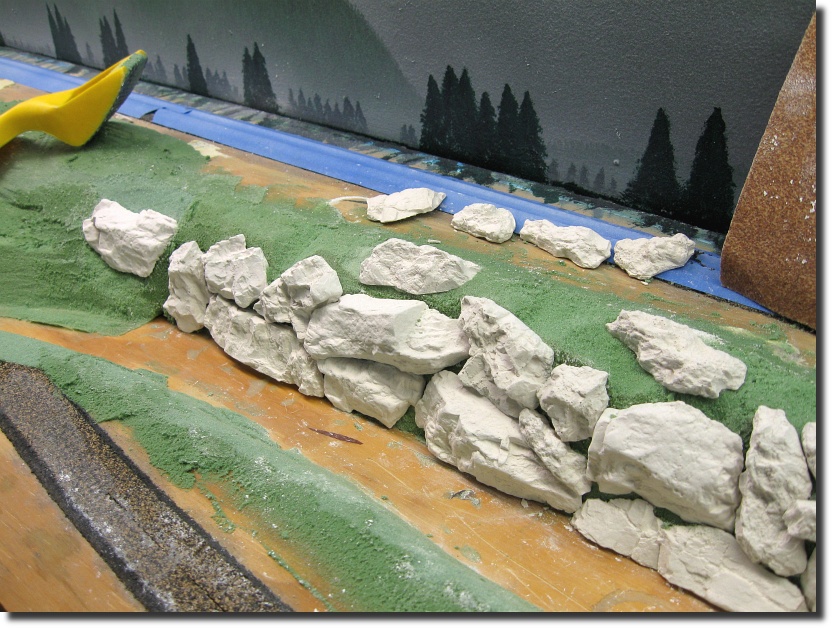
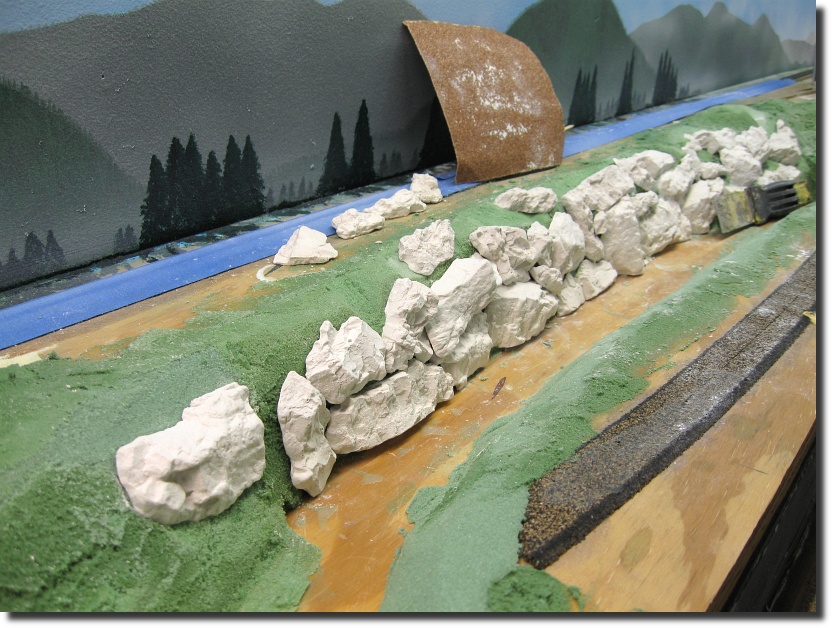
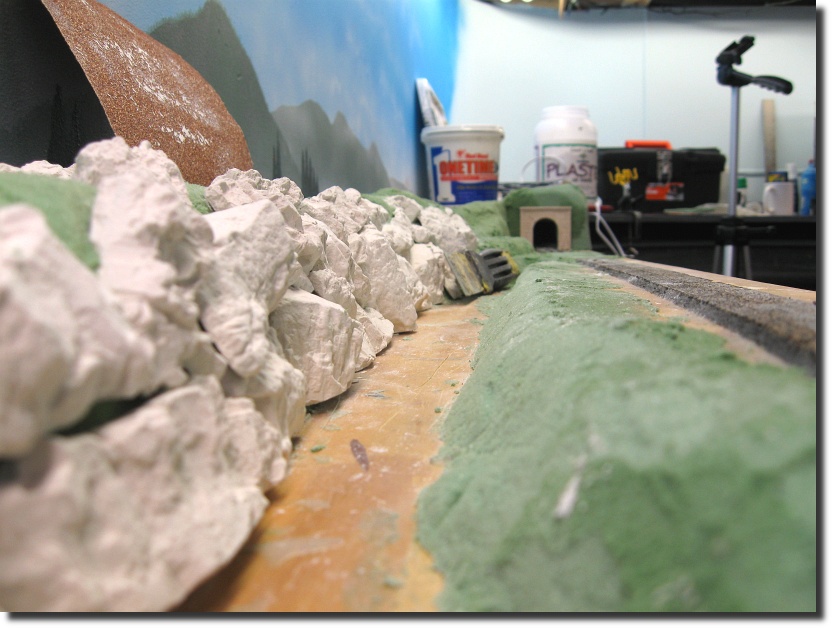
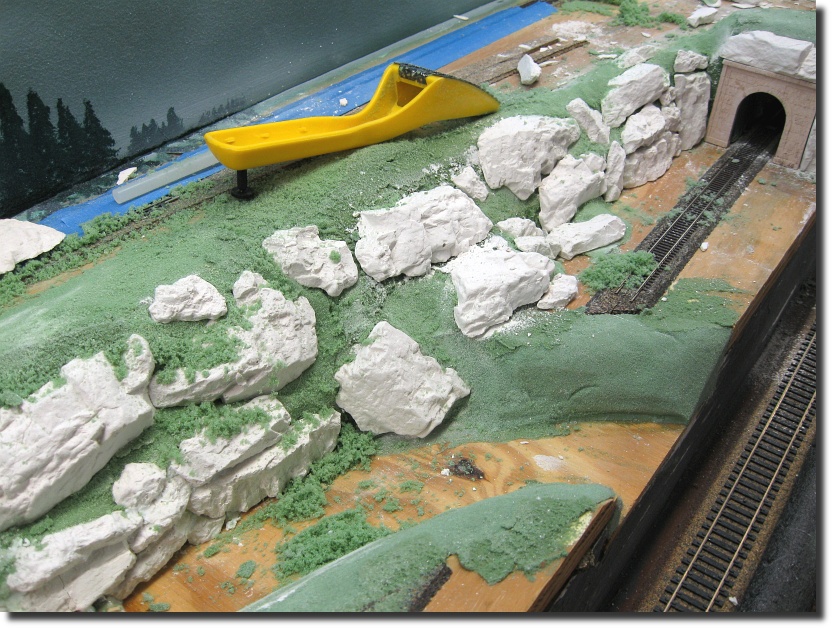
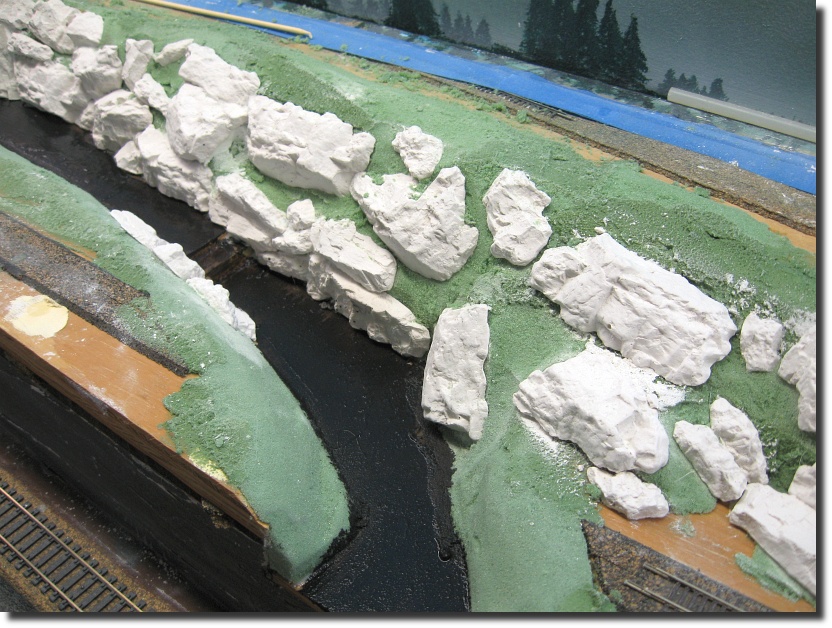
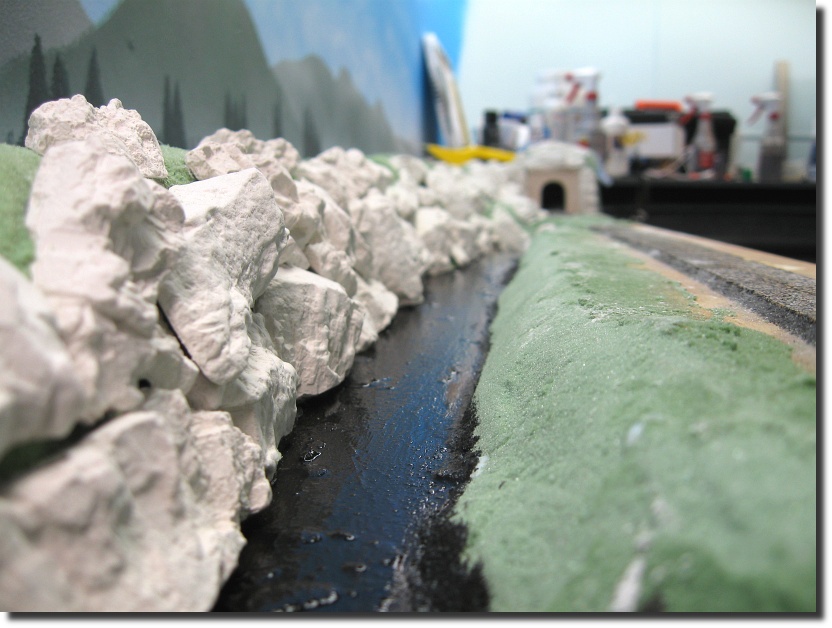
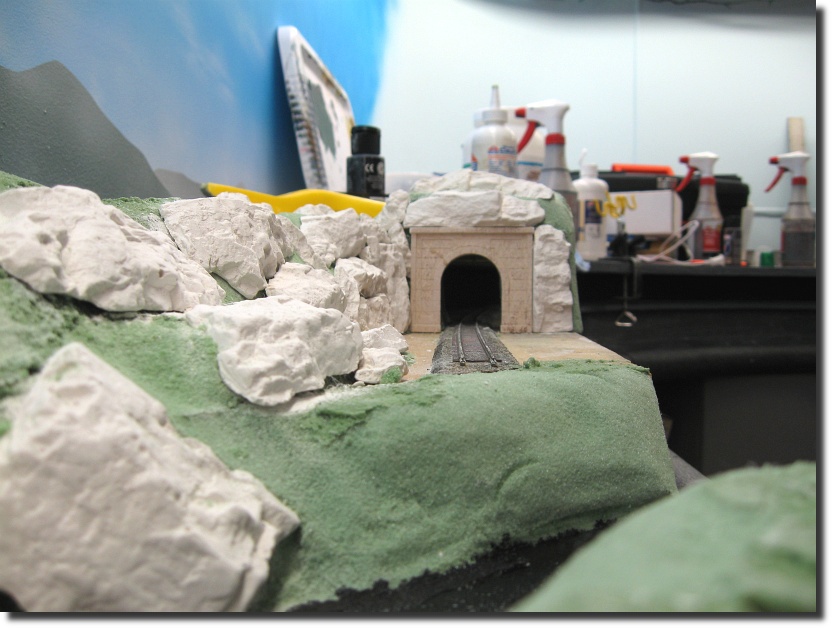
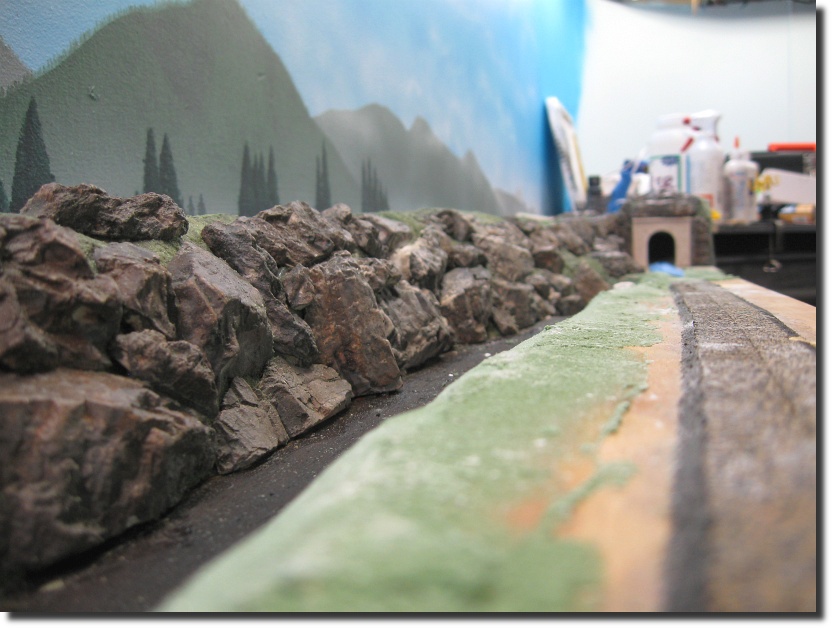
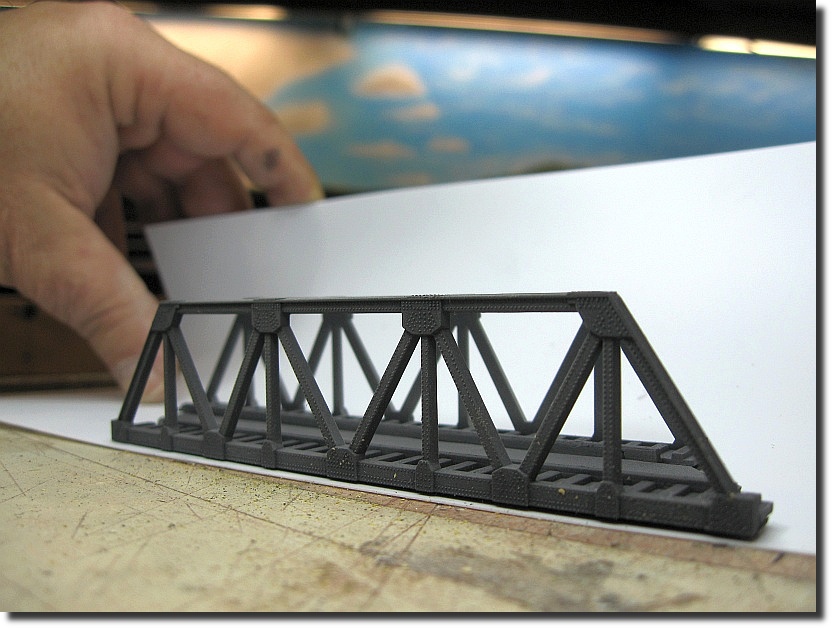
01/02/2010

I decided to put the turnout in place temporarily to see how my locos/rolling stock would go through it.

Click on image to enlarge Click on image to enlarge

01/07/2010

Here's a few shots of the river scene with some of the plaster castings glued in place.

Click on image to enlarge Click on image to enlarge Click on image to enlarge
Click on image to enlarge Click on image to enlarge

01/12/2010

Here's some more castings added...

Click on image to enlarge Click on image to enlarge Click on image to enlarge
Click on image to enlarge

01/18/2010

Ok. It probably would have been better to paint the river bed first.   Better late than never I guess...

Click on image to enlarge Click on image to enlarge Click on image to enlarge
Click on image to enlarge

Now here's the really fun stuff.   I decided to go ahead and start staining the rocks I put down so far.   I used acrylic washes of Grey, Burnt Sienna, and Black.   So far, So good.

Click on image to enlarge Click on image to enlarge
Click on image to enlarge Click on image to enlarge Click on image to enlarge
Click on image to enlarge

01/23/2010

It's been said that "Necessity is the Mother of Invention".   I just found that out today.   I kit bashed a sqewed bridge out of an Atlas Warren Truss bridge.   The original bridge got damaged when some card stock I had stacked on a shelf above it fell on it.   Anway I wanted to take the bridge outside to the garage and airbrush it.   Even though it was warmer out today the air temperature was still to low for airbrushing outdoors.   So what's a poor Model Railroader to do?

Well the solution started with this cabinet I had out in the garage.  

Click on image to enlarge

It has a shelf that slides out the front.   I figured if I could put a heat source under the shelf then that would create a warm envelope around the model that would allow me to airbrush it in an otherwise cold garage.   I positioned a sealed Oil heater in front of the cabinet (I would not recommend using an kerosene or quartz type heater due to the flamability of the vapors near open flame or red hot coils).

Click on image to enlarge

I then cut a hole in the shelf and stapled some screen over it.

Click on image to enlarge

The model sits on the screen and is surounded by warm air allowing me to airbrush it and let it dry at room temeratures in a cold garage.

Click on image to enlarge

Here's some pictures of the old damaged bridge.

Click on image to enlarge Click on image to enlarge

Here's some pictures of the new bridge.   I airbrushed it a wheathered black and added a touch of dust to it.

Click on image to enlarge Click on image to enlarge

01/30/2010

Here's a few pictures of the bridge abutments and surrounding rocks in place.

Click on image to enlarge Click on image to enlarge Click on image to enlarge
Click on image to enlarge
Back to Top

free hit counters
free hit counter